Clay for Art projects
 This is the first chapter of my clay diaries. I have already shared with you my and Coil Pots. This, my friends, is the calm before the storm. The prepping. I have found a very specific pattern with preparing for and working with clay with kids. The more prepared I am beforehand, the smoothly it goes. Magic, I know, but I do not think I truly understood the full import until I made a few quick changes to the way I prepared for the first week of clay. Each year, I refine and tweak small things to make the experience a little better. This is not to say there aren’t days when I come home frazzled and exhausted, however, the amount of those days becomes fewer and fewer when I follow these tips.
Prepping The Clay
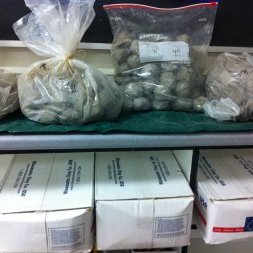
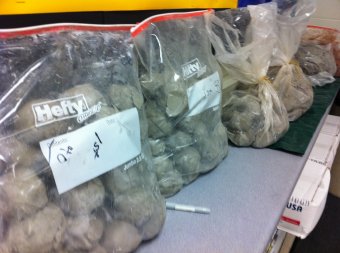
Prepping Clay Balls: Most projects require kids to start with a nice ball of clay. Especially the Kindergarten and 1st grade students, because most of them make pinch pots of some kind. I roll clay into balls and put them in bags labeled with the number (usually a bag equals a class, but it can go any way you choose).
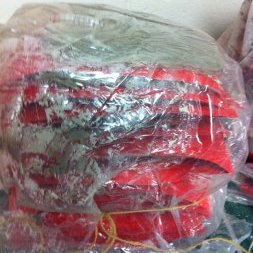
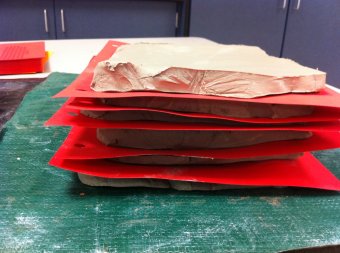
Prepping Clay Slabs: For years I would do slab projects and be cutting the slabs for each kid during class. They would walk up to me, I would cut them a slab and then they would go back to their seat and start rolling it out. Unfortunately, this wasted a ton of time, and while the other kids were waiting for their slab, mass chaos erupted. Now, I simply cut the slabs in the morning, for that day, and put pieces of HEAVY card stock between them. (paper was donated to me with writing on the back). Cover them up and they are ready to hand out. Do not try to use thin paper of any kind or even shiny fingerprint paper. Do not try to do this days in advance.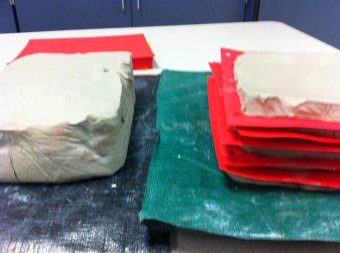 The morning of, with heavy card-stock has worked best for me. Otherwise the paper will start to stick and you will be left with even more issues.
Storing the Clay
Make Some Space: I clear all surfaces in my room. Countertops. Open Shelving. Tops of Cabinets. Paper Cutter. Everything! I take supplies that were on my supply shelves and stuff them in a cupboard. Then, I replace it with boxes of clay and pre-prepped clay. By making room for a month, I feel less chaotic. I hardly use glue or scissors during clay month, so why have it in my way?
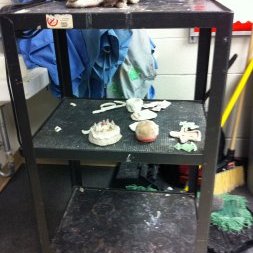
Get a Cart (or 2)! I use these clay carts for everything! Storing clay, transporting clay. One cart is usually going in the kiln, and the other is usually coming out. I prefer a Rubbermaid cart that has a nice lip along the side so that items do not roll right off the cart.
Tubs, Totes and Drying Racks: I have found that using extra storage devices to keep a classes’ work contained is really important. I use long flat totes to store a classes clay when it is finished. Then, I can slip the tub right inside the class drawer if there is room. This really keeps the clay out of my way and off the counters.
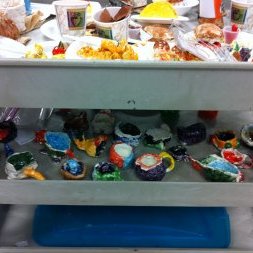
I also have these white drying racks. It lets my counters have double the space, because half is off the counter and I can still store clay under it. Getting wet clay up off the counter also helps the thicker pieces dry faster so I can get them in the kiln.
Speaking of the drying racks- Here is how I store the clay as it’s drying. I label the area with the day of the week. This way I know which grade and day made it (in addition to carving the teacher’s name on the bottom of the clay)……It helps me to know what needs to go in first, so it’s ready for the them following art time. I carve the names of all kids on the bottom of their clay. I use a mechanical pencil. It’s nice and sharp and never dulls. I just don’t trust their handwriting and know I can read my own. Even the older kids.
I also store wet clay (in progress) in baggies that are labeled with the teachers name AND the color table they sit at. This makes passing it out a breeze and there is no fighting over clay or calling out names. I also store larger pieces in the same tubs I use above, but I drape wet towels inside so they stay moist from time to time.
When students are working with clay, they work on place-mats. I purchased a large tarp at a home improvement shop. I cut it into pieces and it works great, It also cleans off really well with soapy water so it keeps well from year to year. I know other teachers use boards or canvas pieces. This was an easy and inexpensive alternative for me . When rolling out a very wet slab, they can stick to the tarp, but it’s been minimal for me so far.
So, that is how I went from fear of clay to conquering clay… I am still learning as I go.
What questions do you still have for me? Maybe others can also help answer.
Any other fabulous tips out there for clay organization? Do tell.
psstt… I think clay week is extending a little longer- I have lots more to share and the week flew by…..So, it’s now a clay celebration into next week. Then I’ll be back to my regularly scheduled programming. :)
