How to make pinch pots?
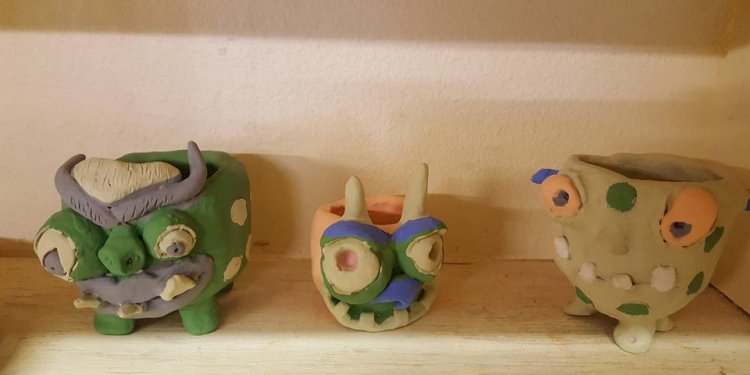
 With fall approaching, we’re slowly bringing some of our more delicate plants inside so they’ll live through the colder months. The changing weather gives me a great opportunity to teach my son about the importance of plants for our environment, and to bring a little bit of green into the house once the drearier weather hits. Teach your kids about the importance of plants by letting them get creative with clay by making some DIY pinch pots! They are really easy to make, and the my son had a blast customizing his own. Even though he’s got elementary painting skills, I loved how these pots came out irregularly and almost abstract—they look great in my windowsill. To make them, all you need are just a few supplies, and you can have your own pretty potted plants in no time.
Supplies:
- Polymer clay
- Paint
- Paintbrush
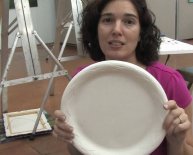
- Paper plate
- Bowl of water

Instructions:
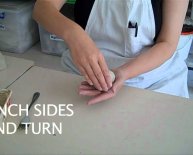
Step 1: Grab your clay (I started with air-dry and it turned out not to work, so then I tried polymer clay and it worked perfectly!) and eye out how much you will need to make your pot. Roll it into a ball and push your thumb into the center till you get about a quarter of an inch from the bottom. Then start pinching around the sides until you get the shape you want.
Step 2: With your bowl of water, wet your finger and smooth out any cracks, bumps, or fingerprint marks. This is totally not necessary, but it makes the pots look nice and it’s fun!
Step 3: Let them dry and then follow the instructions on the packaging. Ours said to bake the clay at 325 degrees for about 25 mintues. Once they are dry or cooled (depending on the instructions) paint them! I added a base coat of white before painting.
Step 4: Let your little ones decorate their own. You can just use paint, or you can get creative and add glitter, or glue on buttons or cover them with drawings! No matter what you choose, the kids will love them.


